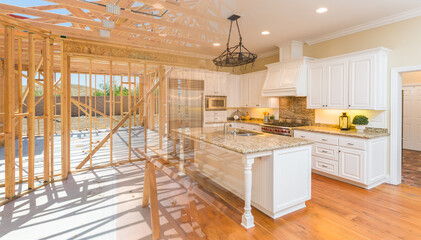
There’s more to painting a house than just putting on a coat of paint. Hiring Modesto House Painters can ensure a stress-free experience that’s worth the investment.

They’re up to date on the latest color trends in home design and can recommend contemporary colors that will complement your architectural features. They also understand the importance of surface preparation and clean up.
A professional house painter is a skilled tradesperson responsible for the painting and decorating of buildings. In addition to the actual painting, their duties may also include surface preparation, drywall or wood repair, plaster or putty application, taping and cleaning, and a variety of other tasks that are essential to the overall success of any home improvement project. House painters have extensive training and years of practical experience, making them experts in their field.
A quality house painter can provide homeowners with accurate quotes upfront, including costs for labor, materials, and paint. They can also recommend the best type of paint for each situation, and they know how to properly apply it for a smooth finish. They can even handle touch-ups and additional maintenance tasks, such as repainting over drips or cracks.
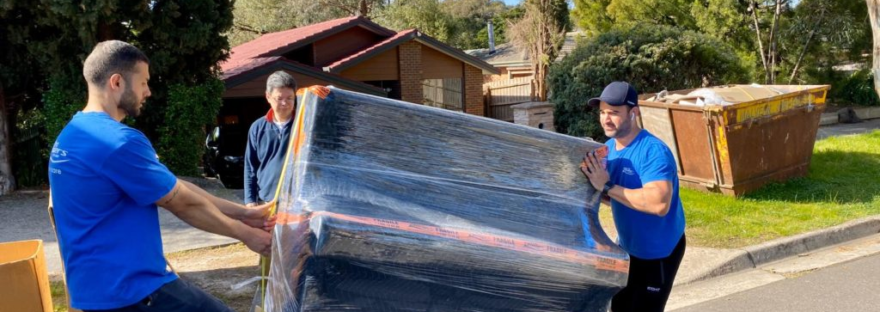
One of the most important benefits of hiring a house painter is peace of mind. They will take care of all the details, allowing you to relax and enjoy the transformation process. They will use tarps and other protective measures to protect floors and furniture, and they will clean up any spills or splatters immediately. Additionally, they will take all the necessary steps to keep the area safe and secure during the painting project, ensuring that family members and pets are not disturbed or injured.
Aside from the aesthetic benefit, a professionally painted home can increase its resale value. It is essential to hire a licensed, insured house painter for any painting project. A licensed house painter will have a contractor’s license and liability insurance, which can protect you in case of accidents or damage to your property during the project. In addition, they will have the skills and tools needed to complete the job quickly and efficiently.
Peace of Mind
Peace of mind is a feeling of tranquillity and contentment. It’s a state of being where you can accept the challenges and hardships that life throws at you without becoming stressed, anxious, or overwhelmed. It’s also a mindset where you can focus on what you have control over rather than worrying about things that you can’t control.
A lot of people struggle to achieve peace of mind. It’s a feeling that’s closely linked to your mental health and general wellbeing. In order to have a healthy, well-balanced life, it’s essential that you take the necessary steps to cultivate a sense of peace of mind.
One of the best ways to do this is to hire a House Painter. You can easily find these by doing a quick search online or asking your friends and family for recommendations. It’s important to do your research before choosing a company to ensure that they have valid insurance, customer testimonials/references, and pictures of their past work.
When you have the services of a professional painter, you can rest assured knowing that the job will be completed quickly and efficiently. A quality painter will also understand the importance of preparing surfaces before painting, which will result in a better-looking finished product. In addition, most painters will clean up after the project is complete, leaving you with nothing to worry about.
There are many reasons to choose the services of a House Painter, from saving time to ensuring that your home is safe and secure. Whether you’re looking to improve the appearance of your home or are planning to sell it in the future, a professional painter is the way to go. With their expertise and dedication to delivering high-quality work, you can be confident that your home will look its best for years to come.
Cost-Effectiveness
Unlike other home renovation projects that can be expensive, painting is one of the most affordable upgrades that provide high ROI. It can make a room look newer and more appealing, increase the resale value of your property, and enhance its curb appeal and marketability. Professional house painters use premium-quality paints and materials, so you can be assured of long-lasting results that will save you money on maintenance and repainting costs.
Many homeowners view the hiring of a house painter as an unnecessary cost. They fail to see that this service is an investment in the beauty, integrity, and durability of their homes. Professionals are highly-trained and have years of experience delivering exceptional results. They are skilled in the nuances of surface preparation, color selection, and application techniques that yield impeccable results. Moreover, they have the tools and equipment to handle a wide range of projects from small interior rooms to larger exteriors.
Aside from enhancing the appearance of your home, paint also provides other benefits such as increased energy efficiency and improved indoor air quality. The right kind of paints are safe for children and pets and contain minimal volatile organic compounds, ensuring that you and your family are breathing healthy air in the place where you spend most of your time.
Before a professional house painter arrives, it is best to remove or cover valuables and prepare for the inconvenience of having your space disrupted by construction. It is also a good idea to check if you need to vacate your home during the painting process and to take care of any repairs that need to be made. Inquiring with friends and neighbors for recommendations should provide you with a list of potential professionals to consider.
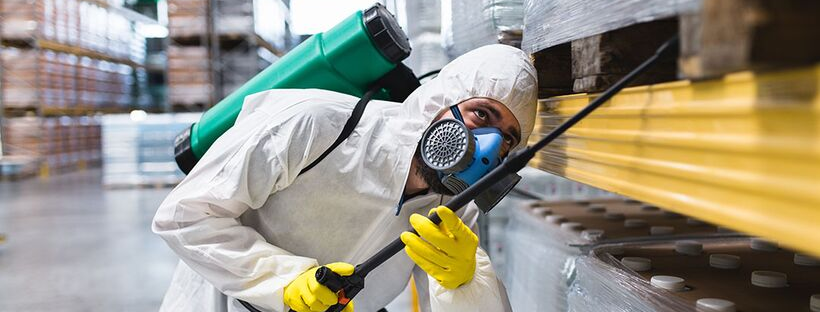
Safety Compliance
Painting can be a messy job, and it’s important to protect yourself and your home. Professionals have the knowledge and equipment to take all necessary precautions, such as covering furniture and flooring with drop cloths, masking windows, and removing fixtures from walls before painting. They’ll also make sure the work area is properly cleaned at the end of each day, ensuring a high-quality paint job without any unnecessary damage.
Safety rules help workers do their jobs better, and they reduce costs by lowering insurance premiums, downtime, and the need for repairs and inspections. Additionally, adherence to safety protocols contributes to project efficiency and quality assurance, so workers are less likely to miss deadlines or fall short of expectations.
Ladders and scaffolding must be secured to prevent falls or injuries, and all painters should use ladders that meet industry standards with non-slip feet and locking devices. Suitable safety gear includes goggles or glasses to protect eyes from splashes, gloves to prevent skin contact with chemicals, and a respirator to reduce exposure to solvents and paint vapors. Workers should also wear a dust mask to avoid breathing in grit, debris, or other contaminants that could irritate the lungs.
Ventilation is another key element of painting safety, and it’s important to open doors and windows to allow fresh air to circulate in the work area and dilute toxic vapors. It’s also helpful to use fans to speed up the drying process and keep the workspace clean. Workers should also be tethered to lifelines or anchors when working above ground, and self-closing safety gates should be installed on any entrance to elevated areas. Confined space procedures should also be followed when using paints, solvents, or abrasives in enclosed areas that have limited openings and no means of natural ventilation.
Enhanced Property Value
A fresh coat of paint is an effective way to improve your property’s appearance and boost its value. A professional painting job can transform your home into a work of art that will leave an impression on prospective buyers and appraisers. The right colour scheme can highlight the architectural features of your property and create a sense of depth and dimension. Additionally, skilled house painters can apply a range of procedures and techniques to achieve the best results. These include sponging, rag rolling, and Venetian plaster, among others.
A freshly painted home can increase its market value by up to 5%. This is because potential buyers will view your property as a move-in ready residence that is well-maintained and cared for. It is also likely to catch the attention of passersby, which can help you attract more buyers and potential investors.
In addition, a professionally painted home can make it easier for you to sell your property. A good house painter will have a contractor’s licence and liability insurance, which is important for both your safety and theirs. They will also be able to provide you with a quote for the project and complete it on time.
Moreover, hiring a house painter will save you valuable time. This will allow you to focus on other tasks and will keep your family happy and stress-free. House painters are trained professionals who can handle the entire process from start to finish. They will also have access to quality paints and equipment, which is important for a good result. Lastly, they will be able to offer you advice based on their experience and knowledge of the local real estate market.